I just realized that it has been a very long time since the last time I touched photoshop or my gopro. I enjoy that kind of stuff so I thought I just mess around with an old photo. I'll be taking screenshots as I touch it up, so expect this to be a little scatter brained.
For this I am going to use a photo from either summer/fall because of a couple reasons. Photos with snow don't require much most of the time (make sure the snow is white and bright, highlight the lighting) and all of the photos I have from spring suck. They are just grey. It's usually cloudy, and nothing is green yet. They aren't average photos, they are bad photos. So, I'll do some combing through old photos...
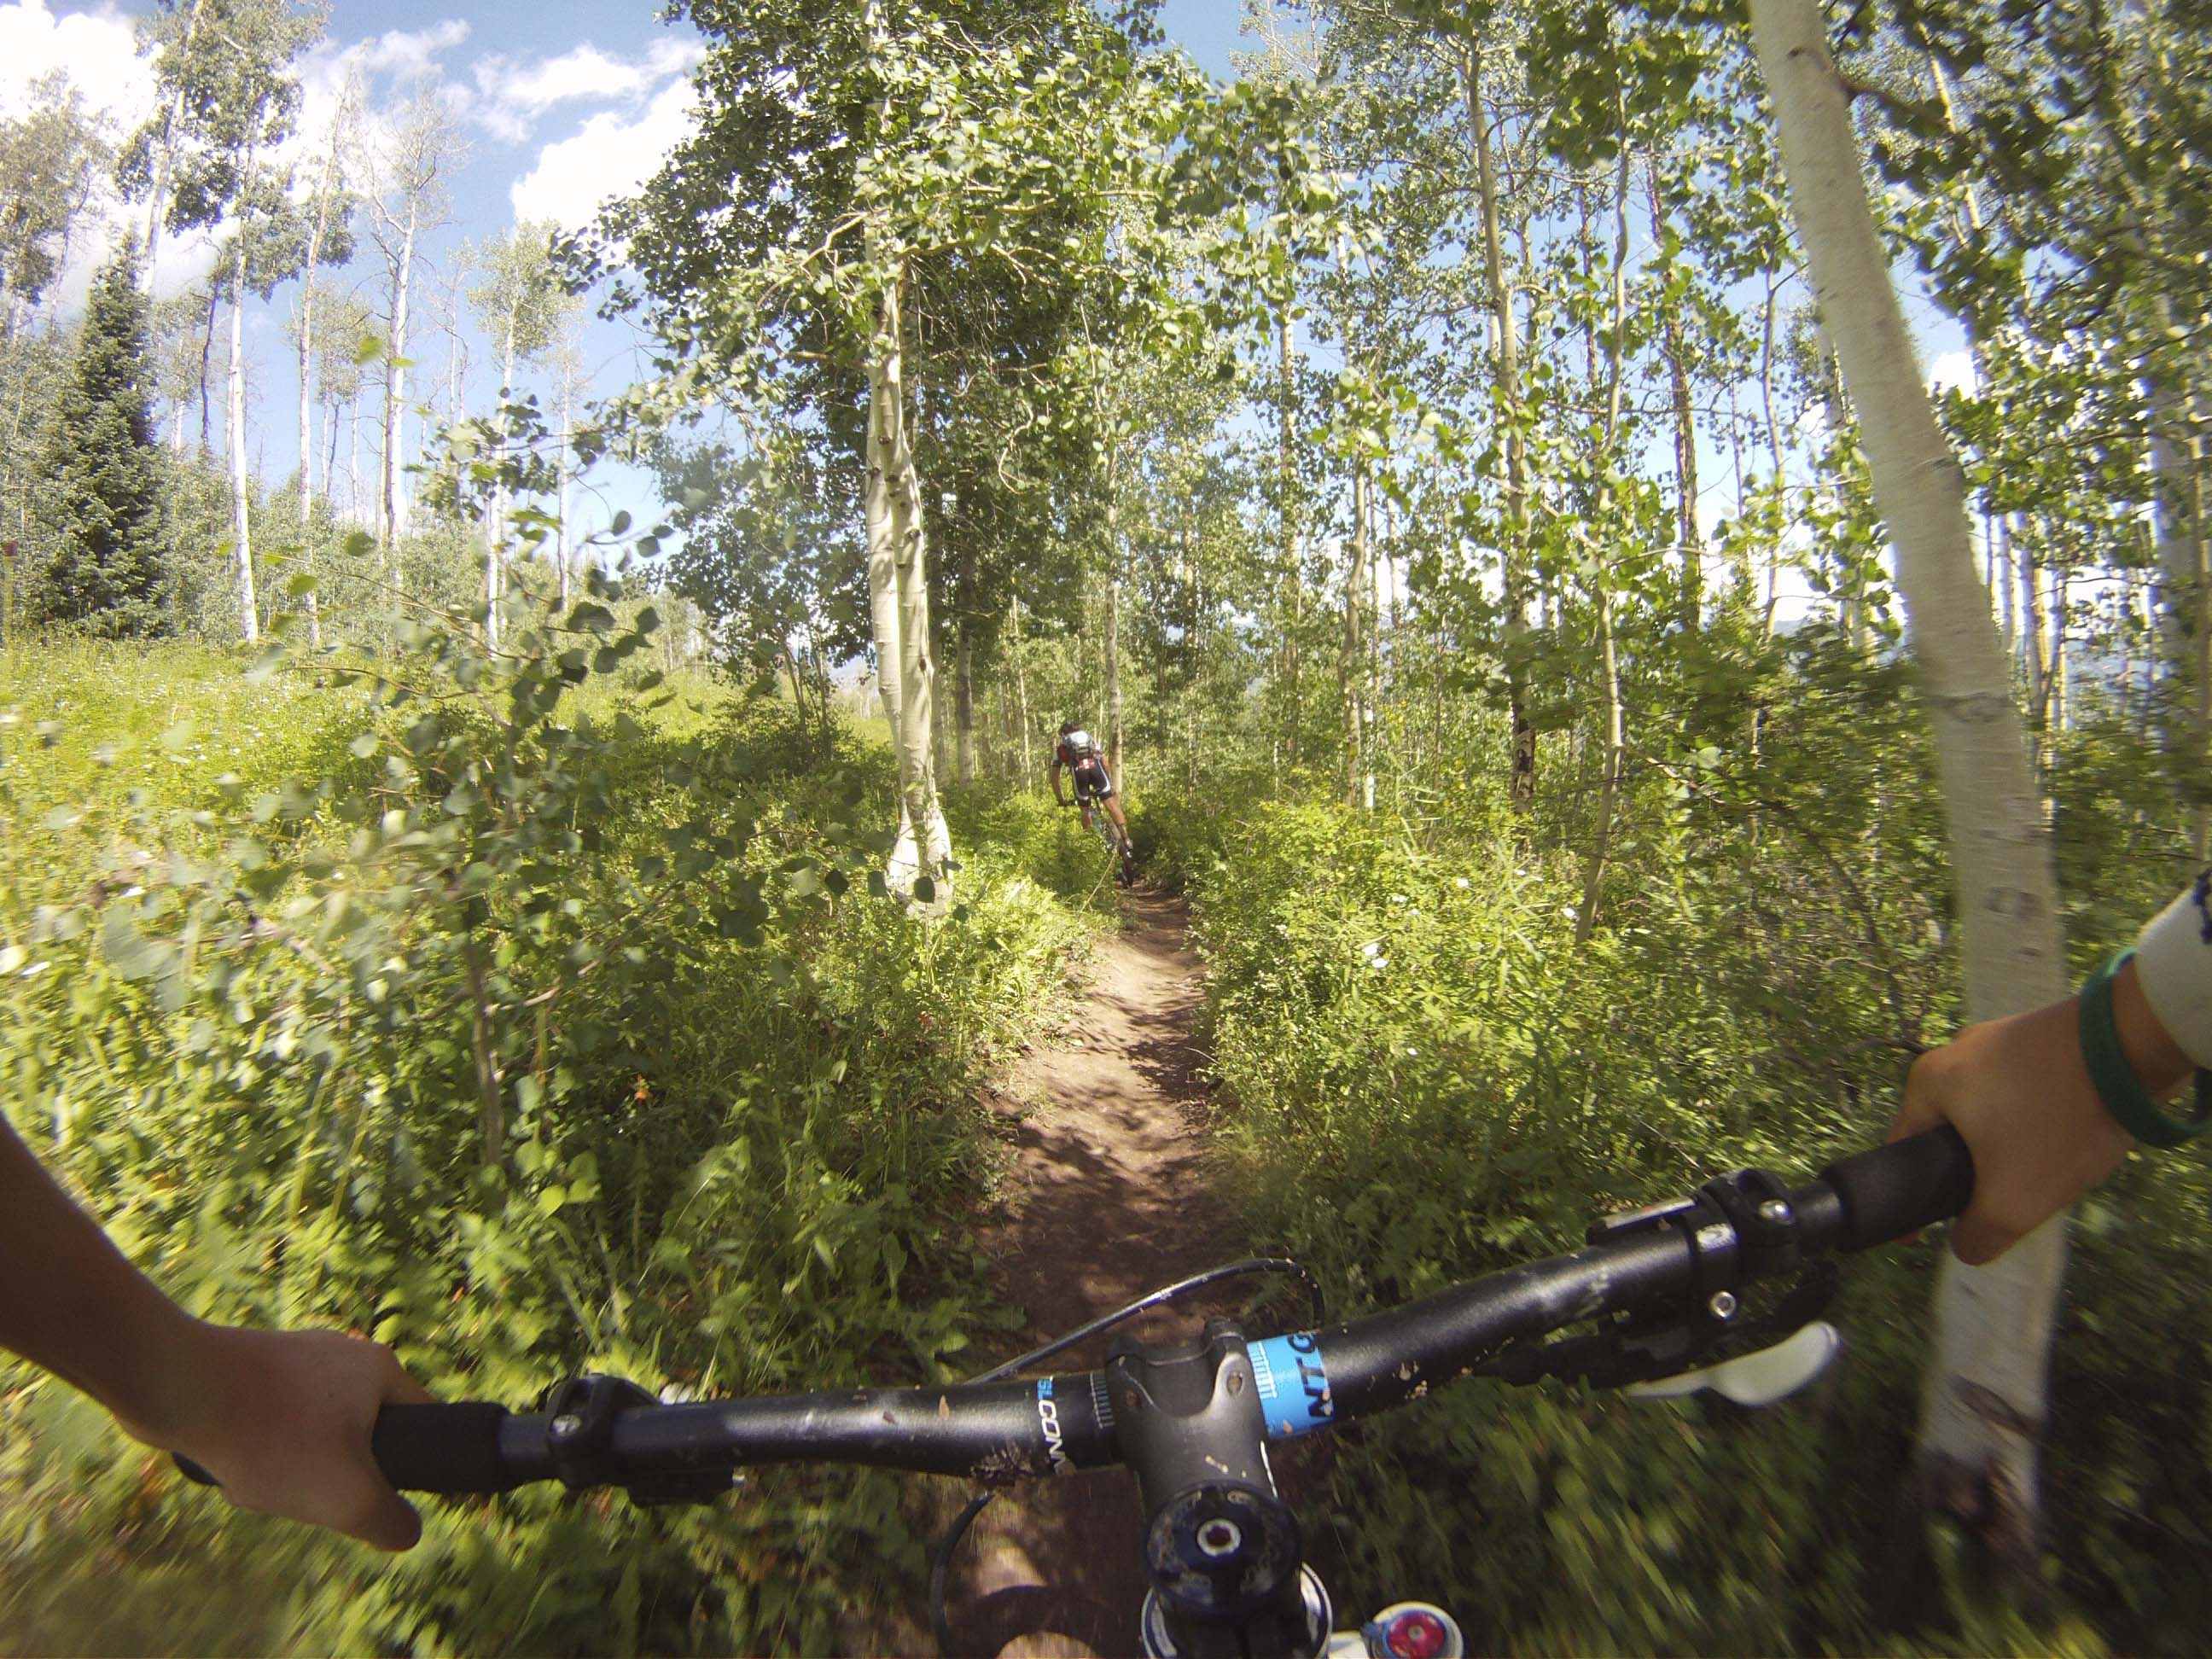
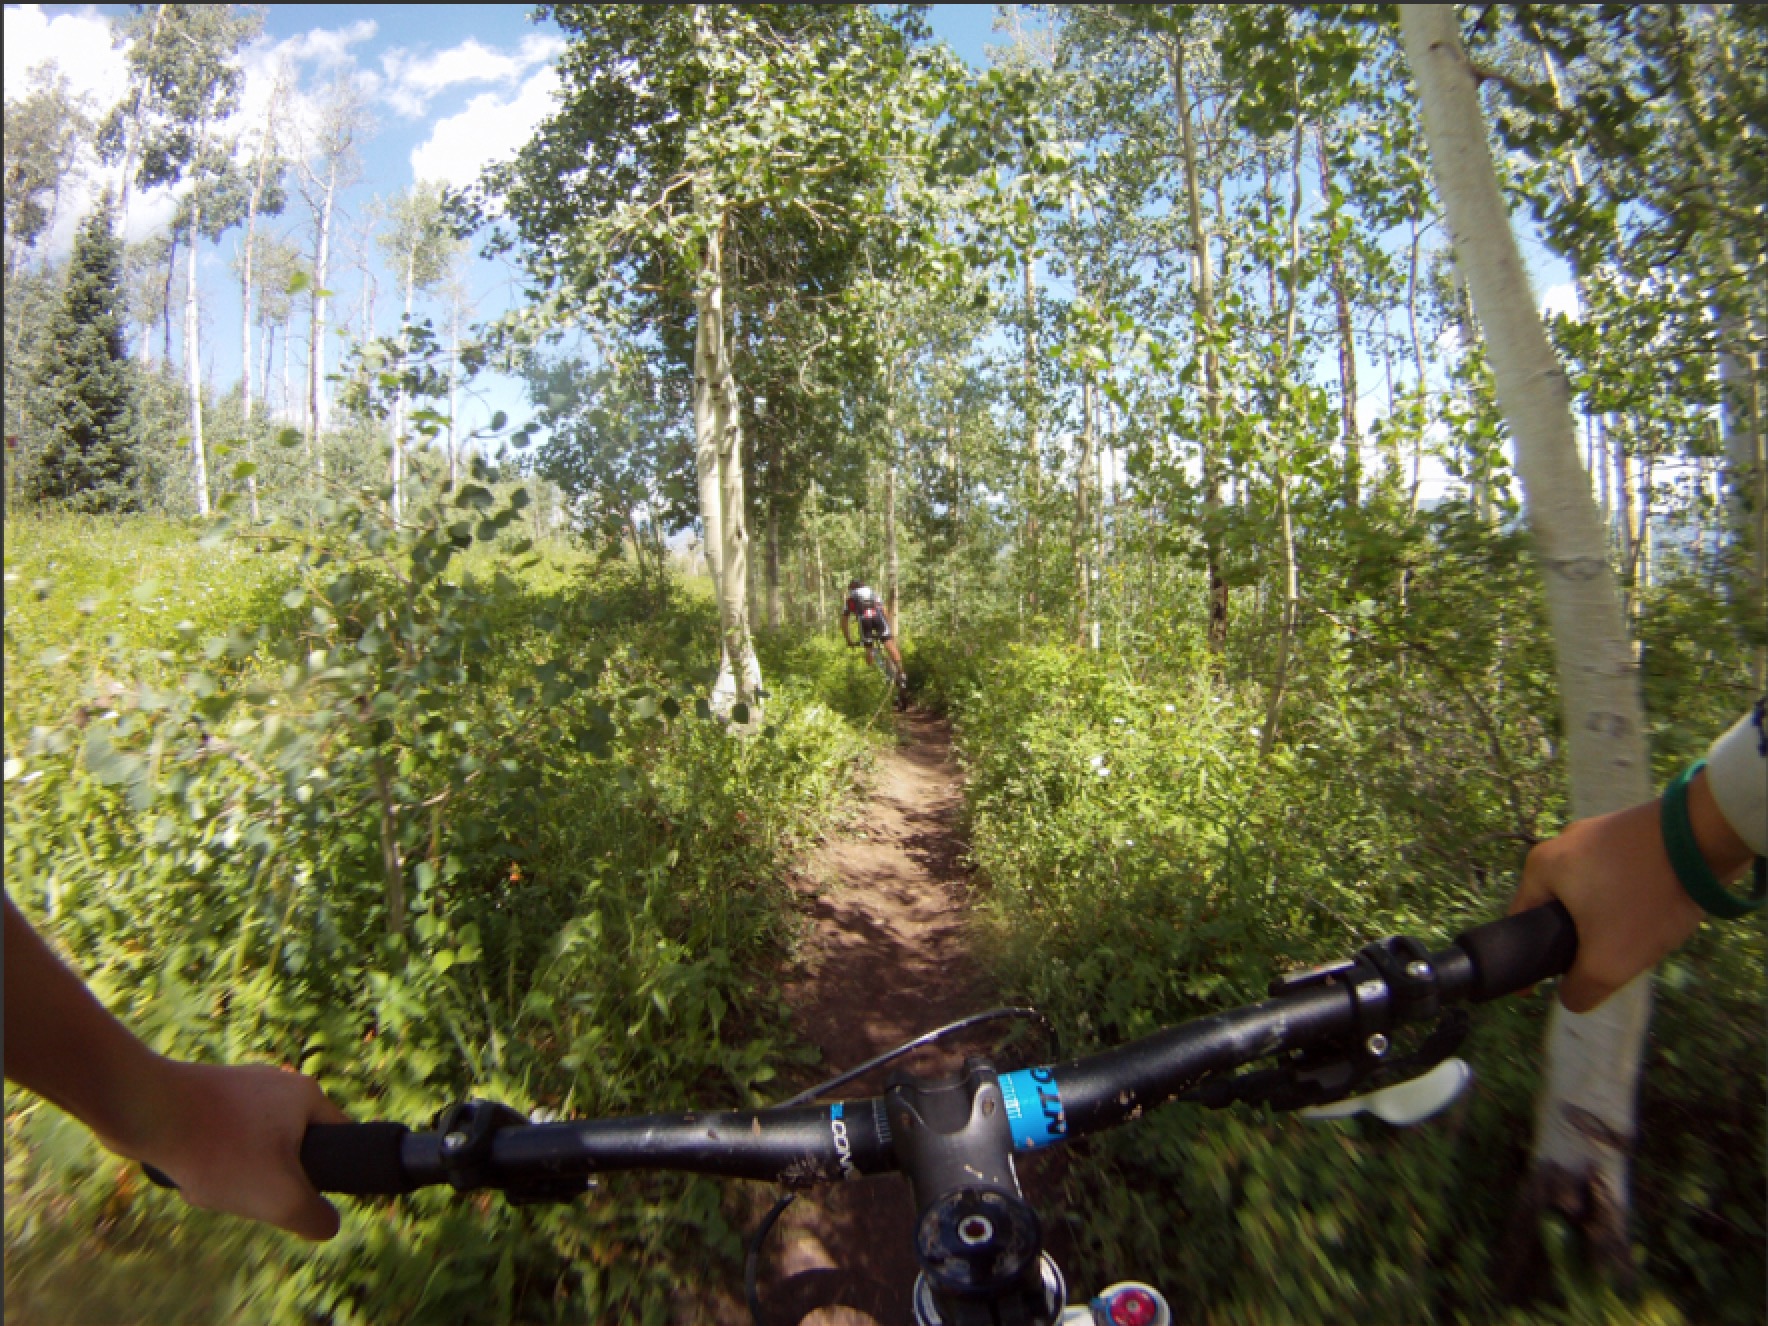
This picture was taken in 2009 i Aspen, Colorado. The camera was the origional Gopro HD Hero, so definitely nothing fancy considering it's now 2017 and we are now on the Hero 5. As you can see at the bottom of that screenshot the resolution and file size aren't great either. I would call this a pretty average photo. Right off the bat there are a couple of things that I notice and want to address.
- Straighten out the trees and horizon (handlebars)
- The sky and trees on the right looks pretty good. The detail is more or less still there. However the sky on the left (the clouds specifically) have no detail left in them. I don't want to try and get the detail out of it, because it's not there, it'll just look grey, not good. The best bet here may be to to brighten that part and make that light source stronger. Looks like that is where the sun was coming from.
- Some of the light hitting the the trail blew it out a little bit, but not completely which is good. I don't think it's a good call to get rid of the light variation here, but just bring back some of the detail there.
- Level out the white balance and green/magenta a bit. I know my shifter on the right is grey, so I'll probably base it mostly off of that.
- Pump up the saturation in areas it makes sense. For instance the green is looking a little bit dull.
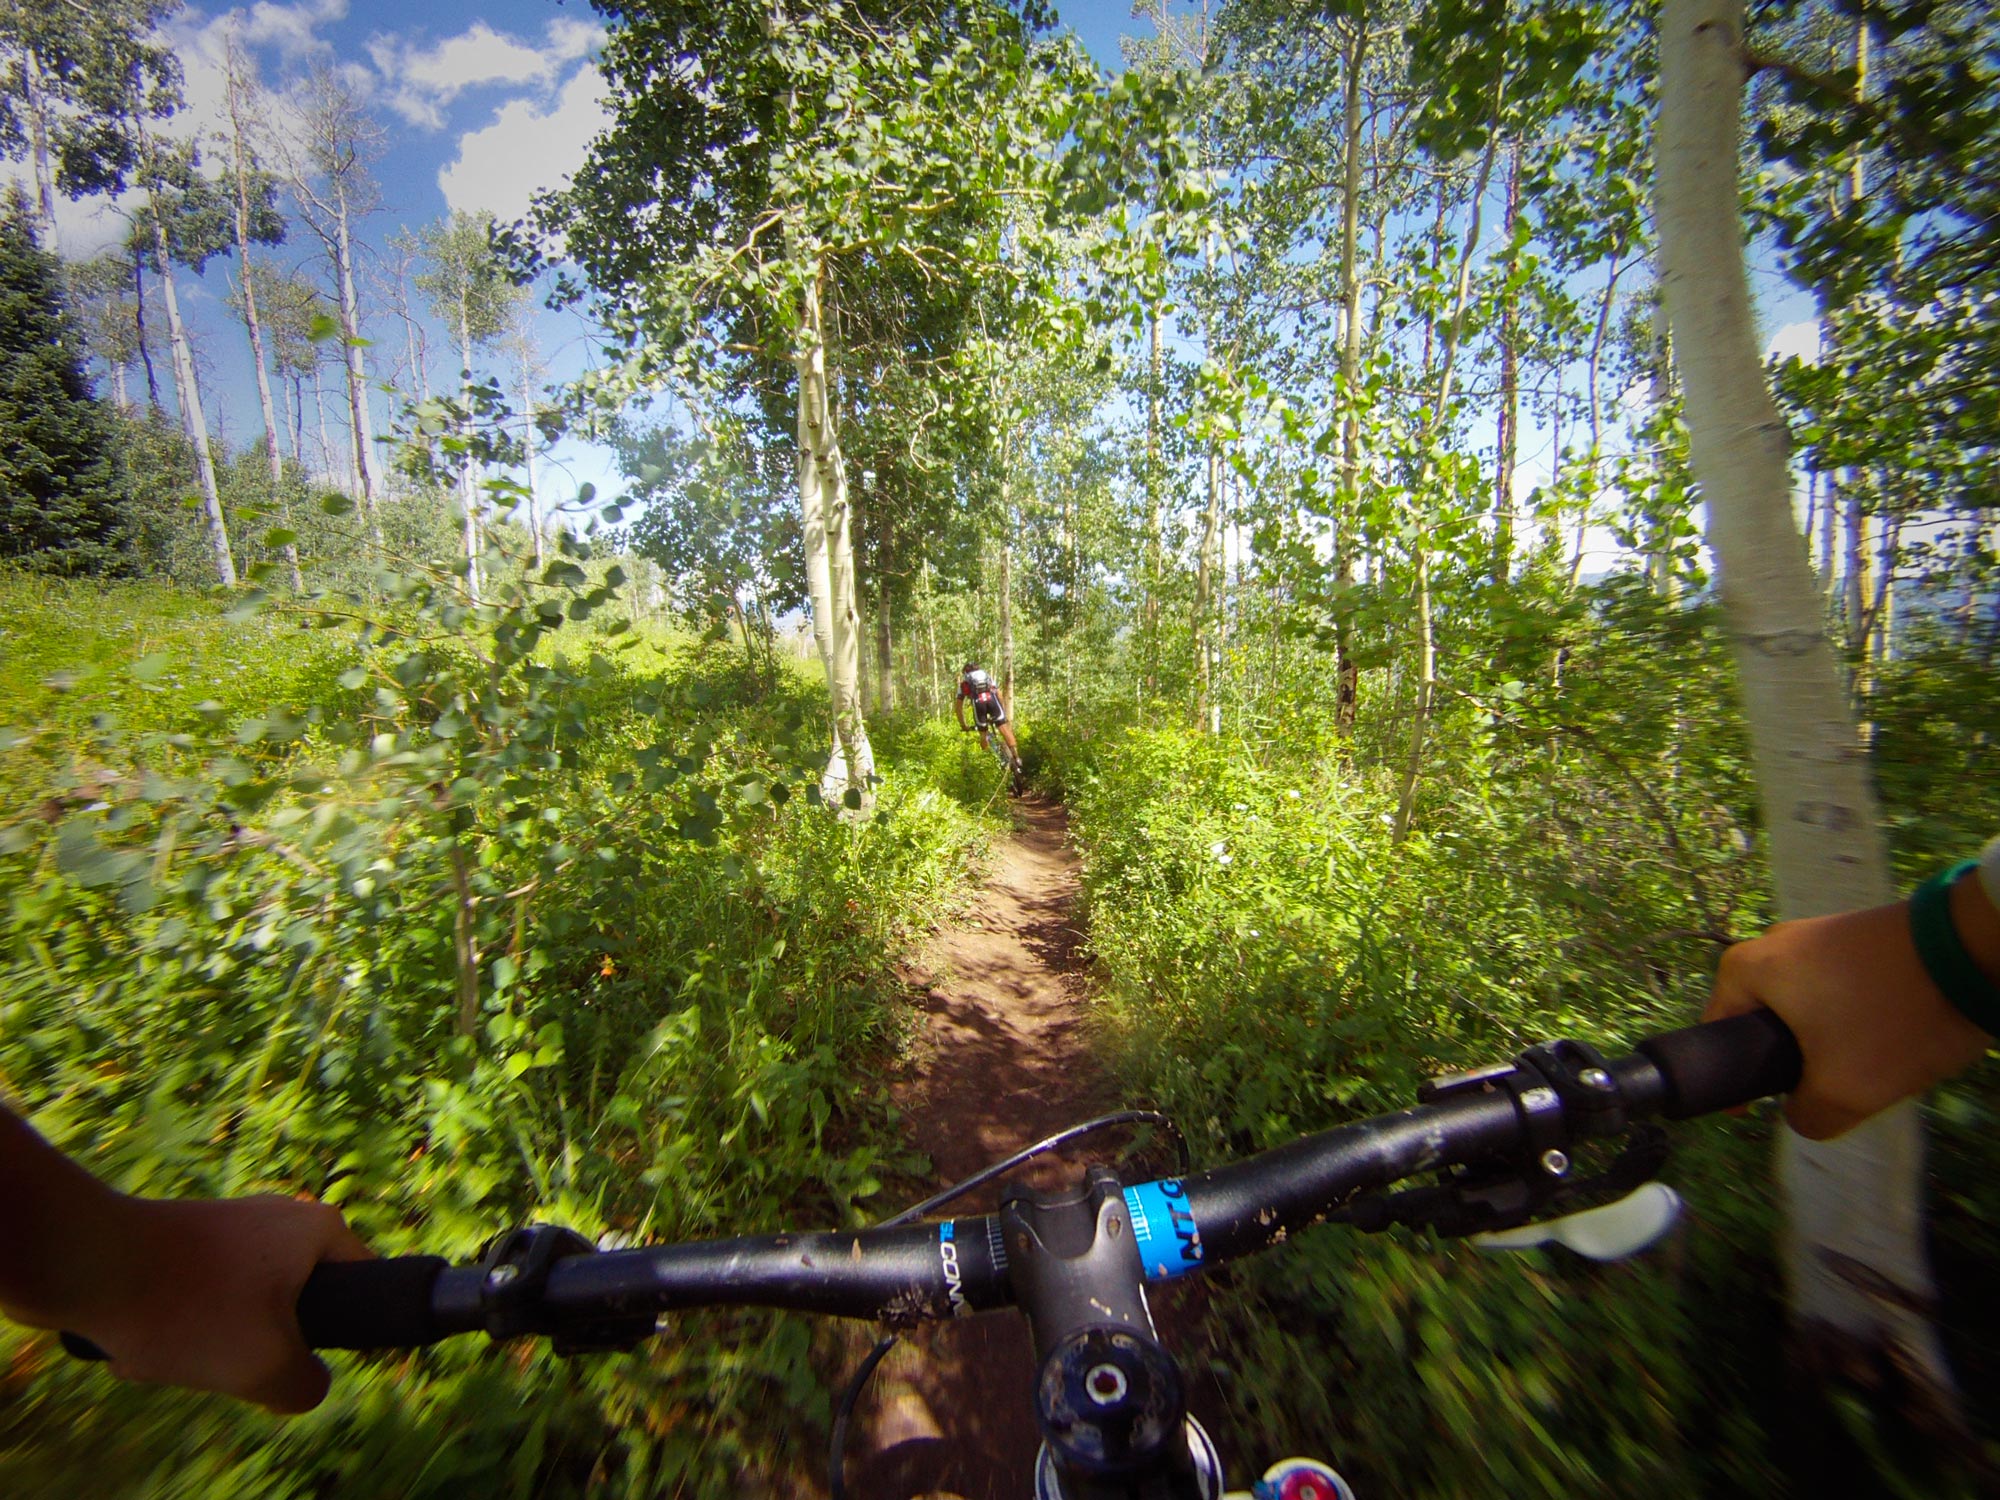
Starting with general adjustments, I'll open it up in camera raw from bridge to do some quick tuning. The first order of business was the white balance and green/magenta adjustment. Put some more blue in and less green.
Looking at the histogram next the blacks aren't quite black (and in this case I think they should be), and the brightest whites are blown out. This is of course the sky, and that's okay, as I want to maybe take that a bit further to clean up and smooth out the left sky. I do want the highlights to get a bit darker on the trail though, so I could try brushing on a negative highlight adjustment. This is what it looks like before and after the initial adjustments.
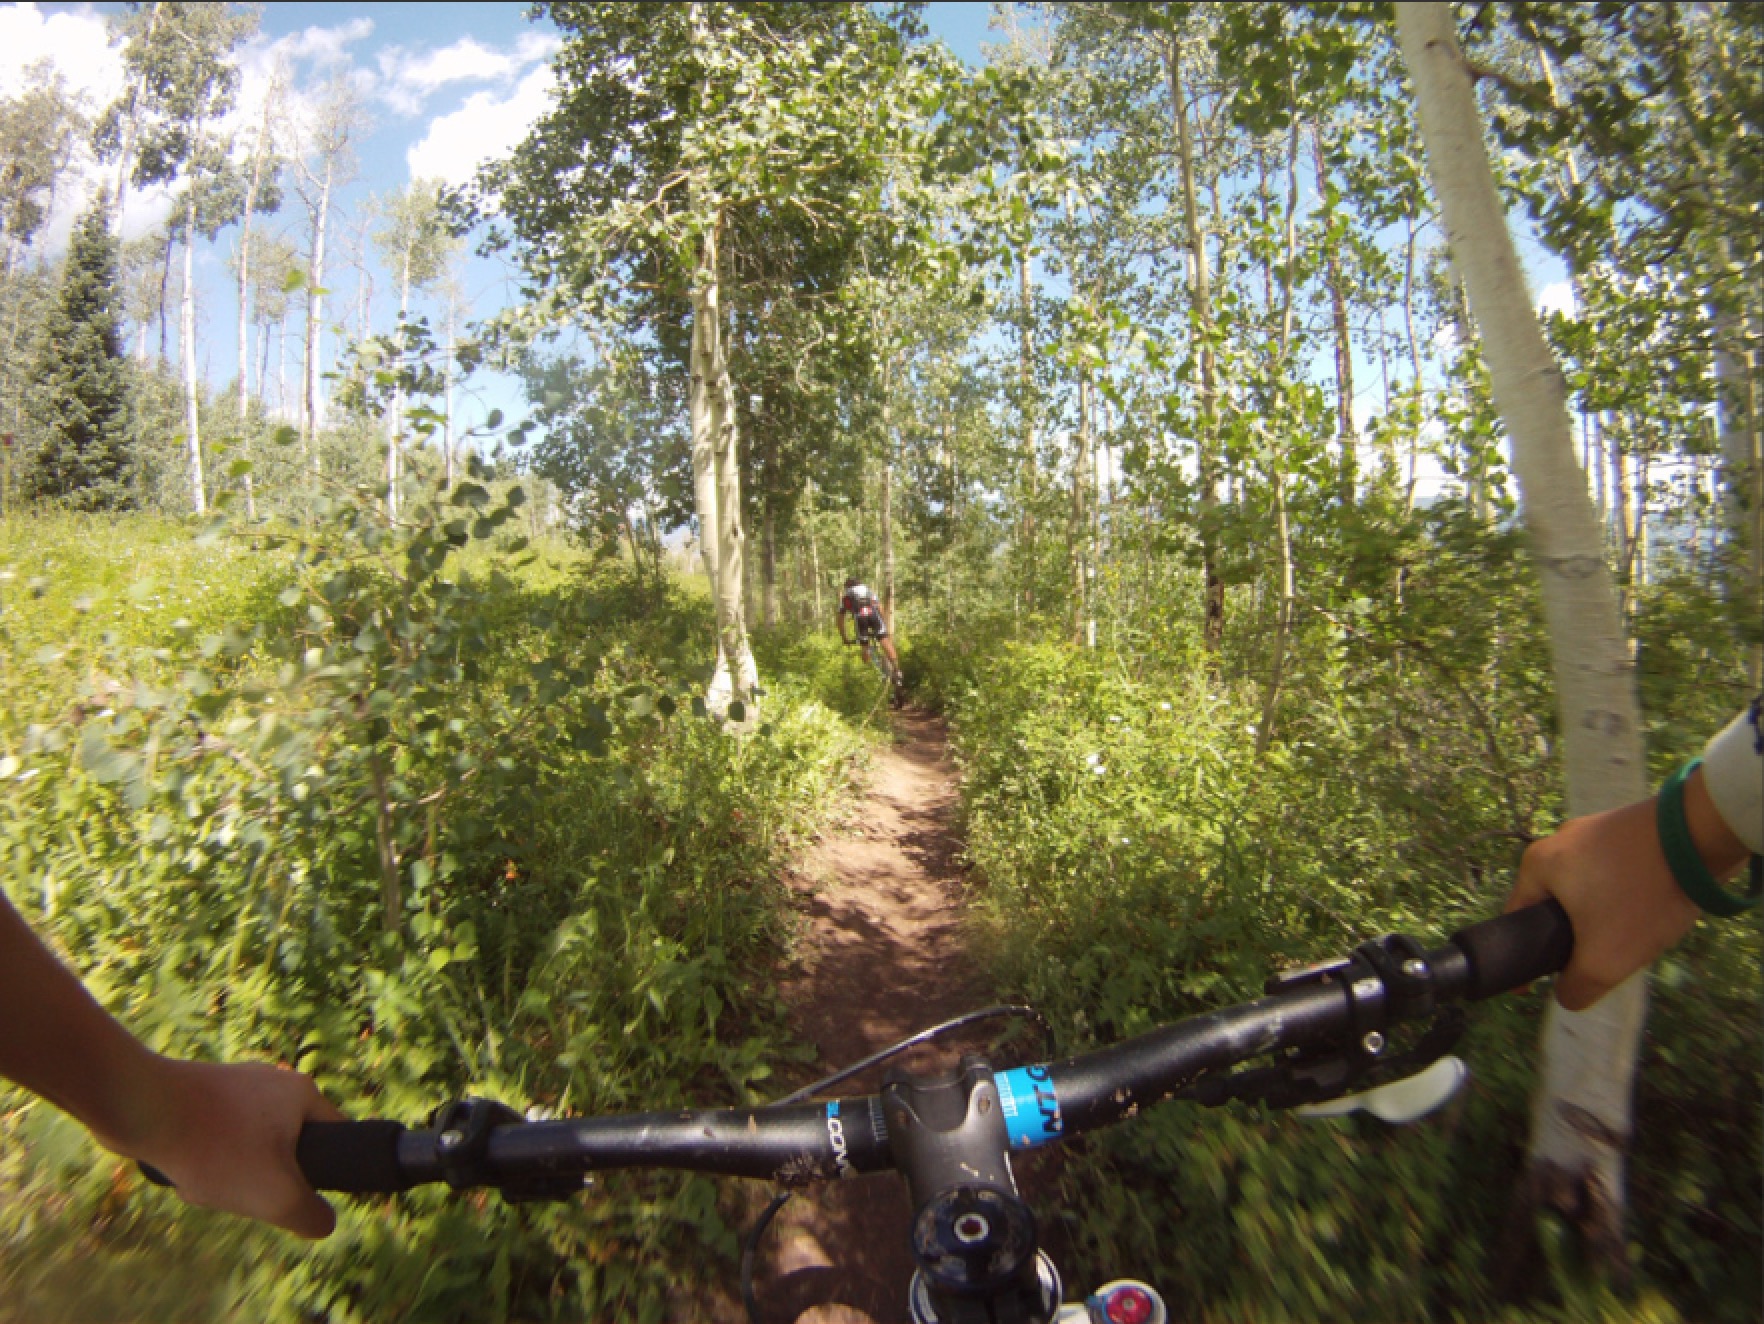
Not a big difference at all, but makes it more realistic. Now out of camera raw, and into into photoshop. Here I straighten out all the lines. The tree on the right looks really wierd and bent, but that's because the tree on the right was really weird and bent. After this the saturation was given a bit of a bump, and then the very darkest shadows were desaturated completely to make sure they are black.
The greens are looking a little bit yellow, and the more I look at it all the hues look a little bit off. I'll just mess with the hue slider till I think it looks good. Adding 2 degrees to the hue is all it took. Then I gave it a little bit more pop using a curve
Lastly comes the hard part of making the sky on the left look not so foggy and weird. I'm going to play with circles and blending modes and see if I can get something looking better than it does now. (10 minutes later) and that didn't work. Ended up create a bit of a vignette, then brightening the image overall to amplify that a bit. Completely shift the focus to the middle of the image. That's it for this picture, here is the final before and after.